
Working with Materials
Materials describe the visual appearance of everything on-screen, so having a solid understanding of how they work is important to making a good looking application! Fortunately, StereoKit comes with some great tools built-in, and Materials can be a lot of fun to work with!
Using Materials
We’ve already seen that we can use a Material like this:
Mesh.Sphere.Draw(Material.Default, Matrix.Identity);
This uses the primary default Material, which is a simple but extremely fast and flexible Material. The default is great, but not very interesting, it’s just a white matte surface! If we want it to look different, we’ll have to change some of the Material’s parameters.
Before we can change the Material’s parameters, I’d like to point out an important fact! StereoKit does not draw objects immediately when Draw is called: instead, it stores draw information, and at the end of the frame it will sort, cull, and batch everything, and then draw it all at once! Since a Material is a shared Asset, Meshes are drawn with the Material as it appears at the end of the frame!
This means you cannot take one Material, modify it, draw, modify it again, draw, and expect them to look different. Both draw calls share the same Material Asset, and will look the same. Instead, you must make a new Material for each visually distinct surface. Here’s what that looks like:
Material from Copy
Material newMaterial;

void InitNewMaterial()
{
	// Start by just making a duplicate of the default! This creates a new
	// Material that we're free to change as much as we like.
	newMaterial = Material.Default.Copy();

	// Assign an image file as the primary color of the surface.
	newMaterial[MatParamName.DiffuseTex] = Tex.FromFile("floor.png");

	// Tint the whole thing greenish.
	newMaterial[MatParamName.ColorTint] = Color.HSV(0.3f, 0.4f, 1.0f);
}
void StepNewMaterial()
{
	Mesh.Sphere.Draw(newMaterial, Matrix.T(0,-3,0));
}
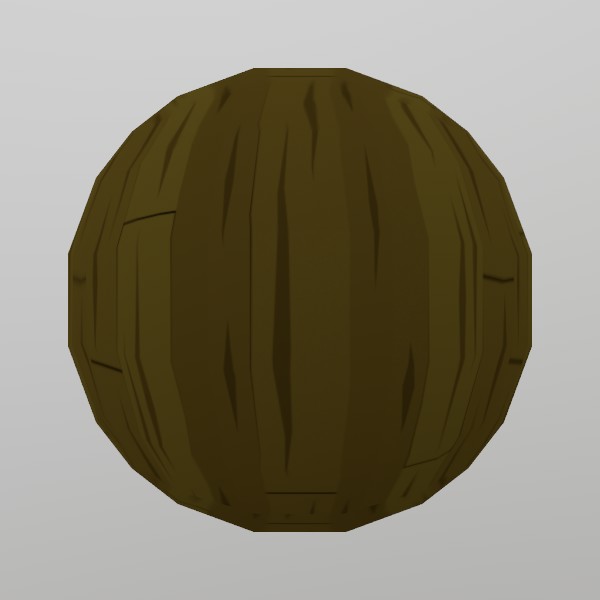 It’s uh… not the most glamorous material!
Not all Materials will have the same parameters, and in fact, parameters can vary wildly from Material to Material! This comes from the Shader code that each Material has embedded at its core. The Shader runs on the GPU, describes how each vertex is projected onto the screen, and calculates the color of every pixel. Since each shader program is different, each one has different parameters it works with!
While MatParamName
helps to codify and standardize common parameter names, it’s always
best to be somewhat familiar with the Shader that the Material is
using.
For example, Material.Default uses this Shader, and you can see the parameters listed at the top:
//--color:color = 1,1,1,1
//--tex_scale   = 1
//--diffuse     = white

float4    color;
float     tex_scale;
Texture2D diffuse : register(t0);
Shaders use data embedded in comments to assign default values to
material properties, the //-- indicates this. So in this case,
color is a float4 (Vec4 or Color in C#), with a default value of
1,1,1,1, white. This maps to MatParamName.ColorTint,
but you could also use the name directly:
newMaterial["color"] = Color.HSV(0.3f, 0.2f, 1.0f);.
Materials also have a few properties that aren’t part of the Shader, things like depth testing/writing, transparency, face culling, or wireframe.
Material from Shader
You can also create a completely new Material directly from a Shader!
StereoKit does keep the default Shaders around in the Shader
class for this purpose, but you can also use Shader.FromFile to load a
pre-compiled shader file, and use that instead. More on that in the
Shader guide (coming soon).
Material shaderMaterial;
void InitShaderMaterial()
{
// Instead of copying Material.Default, we're creating a completely new
// Material directly from a Shader.
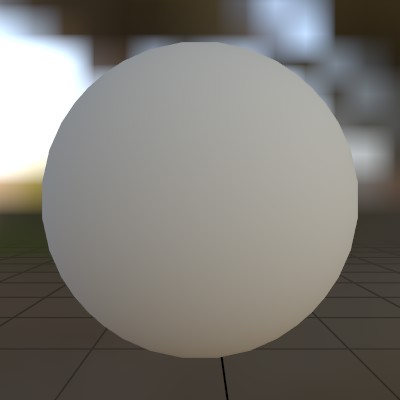
shaderMaterial = new Material(Shader.Default);
// Make it just slightly transparent
shaderMaterial.Transparency = Transparency.Blend;
shaderMaterial[MatParamName.ColorTint] = new Color(1, 1, 1, 0.9f);
}
void StepShaderMaterial()
{
Mesh.Sphere.Draw(shaderMaterial, Matrix.T(0,2,0));
}
 It’s a spooky circle now.
Environment and Lighting
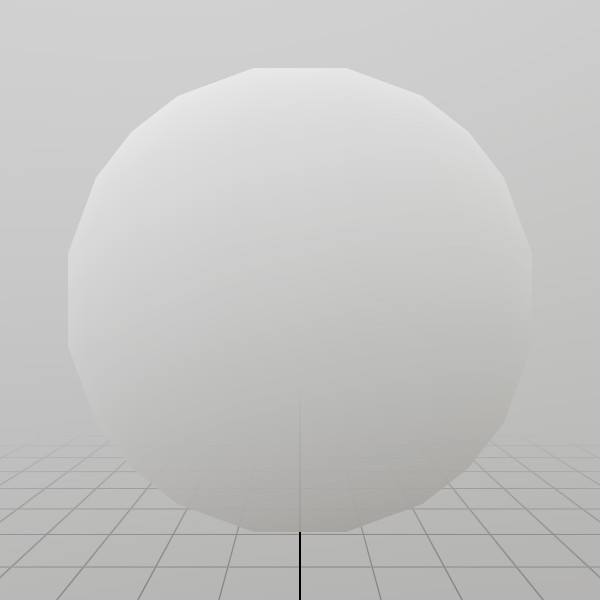
StereoKit’s default lighting system is entirely based on environment lighting! This can drastically affect how a material looks, so choosing the right lighting can make a big difference in how your content looks. Here’s a simple white sphere again, but with a more complex lighting than the default white room.
You can change the environment lighting with a nice cubemap, check out the
Renderer.SkyLight
property for a nice example of how to do this!
Materials and Performance
Since Materials are responsible for drawing everything on the screen, they have a big impact on GPU side performance! If you check your device’s performance monitor and see the GPU maxed out at 100% all the time, it’s a good moment to take a peek at how you’re working with Materials.
The first rule is that fewer Materials means better GPU utilization. GPUs don’t like switching between Shaders or even Material parameters, so if you can re-use a Material safely, you should! StereoKit does a great job of batching draw calls together to reduce this switching, but this is only effective at boosting performance if Materials are getting re-used.
The next rule is that simpler Shaders are faster. Material.Unlit is just about the fastest Material you can have, followed closely by Material.Default! Material.PBR looks great, but does a lot of work to look good. It’s very fast compared to many other PBR shaders, and quite suitable even on mobile VR headsets, but if you don’t need it, use something faster!
And lastly, small textures are faster than large ones. Textures get sampled a lot during rendering, which means moving around lots of texture memory! Remember that halving a texture’s size can reduce memory by a factor of 4!
It often helps to just see how long a draw call takes! For this, I like to use RenderDoc’s timing feature. RenderDoc works quite nicely with StereoKit’s flatscreen mode, and while this isn’t a perfect representation of performance on mobile devices, it’s a solid reference point.
A Look at the Defaults
StereoKit strives to cover the basics for you, and Materials are no exception! You’ll find a collection of Materials and Shaders that are designed to be performant and good looking on mobile XR headsets, and should cover the majority of use-cases. Here’s a sampling, and check the docs for each one to see what properties they support!
Material.Default
Material.Unlit

Material.PBR

Material.UI
Material.UIBox

Found an issue with these docs, or have some additional questions? Create an Issue on Github!